
Development workflows on inmutable distros: rootless setup
Continuation of Samsai notes on Toolbox-based Emacs Flatpak workflow.
I have been using inmutable OS distributions for a while (Fedora Silverblue and Sericea, see my dotfiles). They have the following characteristics:
- System root (baseOS) is mostly immutable
- System software installation/updates are handled as images and applied on reboot
- For installing desktop applications, Flatpak is the recommended default route
- Toolbx can be used to set up containerized Linux environments for developer tools, these containers will mount your home directory and certain important files for GUI programs to work as well
- Local user (rootless) installations
I personally follow these guidelines when installing new applications:
- If it is a desktop application, prefer Flatpak (and some terminal ones too, i.e.: Neovim and Emacs)
- For terminal applications, consider Toolbx or local installations
- Do not install desktop applications into Toolbx
- Avoid duplication (i.e.: installing the same editors or development environments in several places)
- Try to avoid
rpm-ostreelayering on baseOS as much as possible
The development workflow story on inmutable distros hasn’t really been standardized yet, as these distros are quite new. Let’s take a look at several approaches and finally discuss the local (rootless) installation method.
Layering with rpm-ostree (not a good idea)
You can also install development tools directly on the inmutable distros install using package layering with rpm-ostree. So, if you want to, you can install your editor, compilers, build tools and linters straight on the Silverblue install.
However, this isn’t really how most people view you should use Silverblue. The application installation process is a bit more annoying, although experimental support for installing software without rebooting does exist nowadays. It also makes your system install kind of messy due to large numbers of overlayed packages.
I wouldn’t take this route because while you aren’t strictly speaking losing all of the benefits of inmutable distros, you are making life quite difficult for yourself compared to just using regular Fedora Workstation for instance. You also don’t get the benefits of separating your system from your application environments and expose yourself to more potential breakages.
Toolbx approaches
Single toolbx container for all dev activities
The easiest way to have everything working in a predictable and simple manner is to create a single Toolbox container, which has all of the development tools for every single project installed within it. This means that the container contains your text editor of choice, compilers, linters, build tools and all of their dependencies.
The benefit of this approach is that it is extremely close to how you’d work on any other Linux distribution.
This approach has several drawbacks:
- All software pilled into one environment
- Keeping the text editor inside the Toolbox still results in somewhat poor integration with the host system
- Install desktop applications into toolbx containers instead of Flatpak applications
A toolbx container per language / project
Another (better IMO) possibility is to separately set up a Toolbox container for each project you work on. This means that all of your project environments are fully separated from each other and all of them only carry tools and dependencies relevant to the project in question.
Loss of a Toolbox container limits the damage to a particular project and per-project Toolboxes are fairly simple to recreate.
Drawbacks:
- Certain parts of your development workflow need to be duplicated. You potentially need to install your text editor and all of its required dependencies and tools in each environment.
- Keeping the text editor inside the Toolbox still results in somewhat poor integration with the host system.
Flatpak approach
You can install Flatpak SDKs such as the Rust build tools like this:
$ flatpak install org.freedesktop.Sdk.Extension.rust-stable
And then load them into a Flatpak editor using an SDK extension flag:
$ FLATPAK_ENABLE_SDK_EXT=rust-stable flatpak run com.visualstudio.code
or just load every SDK available in your local setup:
$ FLATPAK_ENABLE_SDK_EXT=* flatpak run com.visualstudio.code
This causes the tools and libraries from that SDK to be made visible to the Flatpak application. There are Flatpak SDKs for a few languages like Java, Rust, Haskell, PHP and Node, but obviously support for all use-cases does not exist. But if you only plan to develop in languages that already have an SDK ready or are willing to learn how to package more SDKs, then this approach is definitely viable for things like Neovim, Emacs and VSCode Flatpaks.
Drawbacks:
- Some languages do not have an SDK available
- Limited to the language runtime versions available in the SDKs
- Duplication of the language runtime (plus you will need to install all the library dependencies on the Flatpak to have proper code support from your editor)
Combined approach
You can also mix approaches such that part of the development activity happens outside Toolbox and part of it inside the Toolbox. The simplest case would be installing your text editor via Flatpak for example and then connecting from that text editor to a Toolbox for project-specific tools like compilers.
The benefit here is that you can install tools where they make most sense and where they integrate the best. So, you will get your nice app launchers and the ability to keep project environments separate.
Tools available:
- For VSCode
- Dev Containers extension
- toolbox-vscode: a script that configures the current toolbox container to work with the Remote Containers Visual Studio Code extension
- For Emacs
- For Neovim
-
nvim --remote? - nvim-remote-containers
-
User (rootless) installations
I have not seen much information about this method anywhere and for me as of today it is the prefered approach. Flatpak applications (i.e.: editors) cannot access the root filesystem (i.e.: the preinstalled python package on /usr/bin/python). However they have full access to the home directory (same as Toolbx containers).
So installing the development runtimes and tools locally (and then configuring your Flatpak editor to use them) provides an excelent out of the box developer experience without the need of Flatpak SDKs nor plugins to enable your editor to access the Toolbx containers.
Drawbacks:
- It can be more time consuming to set up than normal
rpminstalls in some scenarios - No automatic updates
Let’s take a look at local installs for several platforms.
OCaml
We will leverage the OCaml Package Manager (opam) to install the platform (or several versions) and local switches to each project:
$ curl https://github.com/ocaml/opam/releases/download/2.1.5/opam-2.1.5-i686-linux -Lo ~/bin/opam && chmod +x ~/bin/opam
From a toolbx container with proper development tools, i.e.: this one incialize the opam environment and install the platform tools:
⬢ $ opam init
⬢ $ opam install dune ocaml-lsp-server odoc ocamlformat utop
Optionally, install some extras for Emacs, Vim and Neovim:
⬢ $ opam install ocp-indent ocp-index merlin tuareg
We need to add the opam path (~/bin) to our editor of choice (i.e.: VSCode) path:
$ sudo flatpak override --env=PATH='/app/bin:/usr/bin:/home/$USER/bin:/home/$USER/.opam/default/bin' com.visualstudio.code
Finally, open the project in VSCode and choose the corresponding opam switch.
Using local switches
It is possible to define a switch within the source of a project to be used specifically in that project. If a local switch is detected in the current directory or a parent, opam will select it automatically.
⬢ $ opam switch create .
Finally, open the project in VSCode and choose the corresponding recommended opam switch.
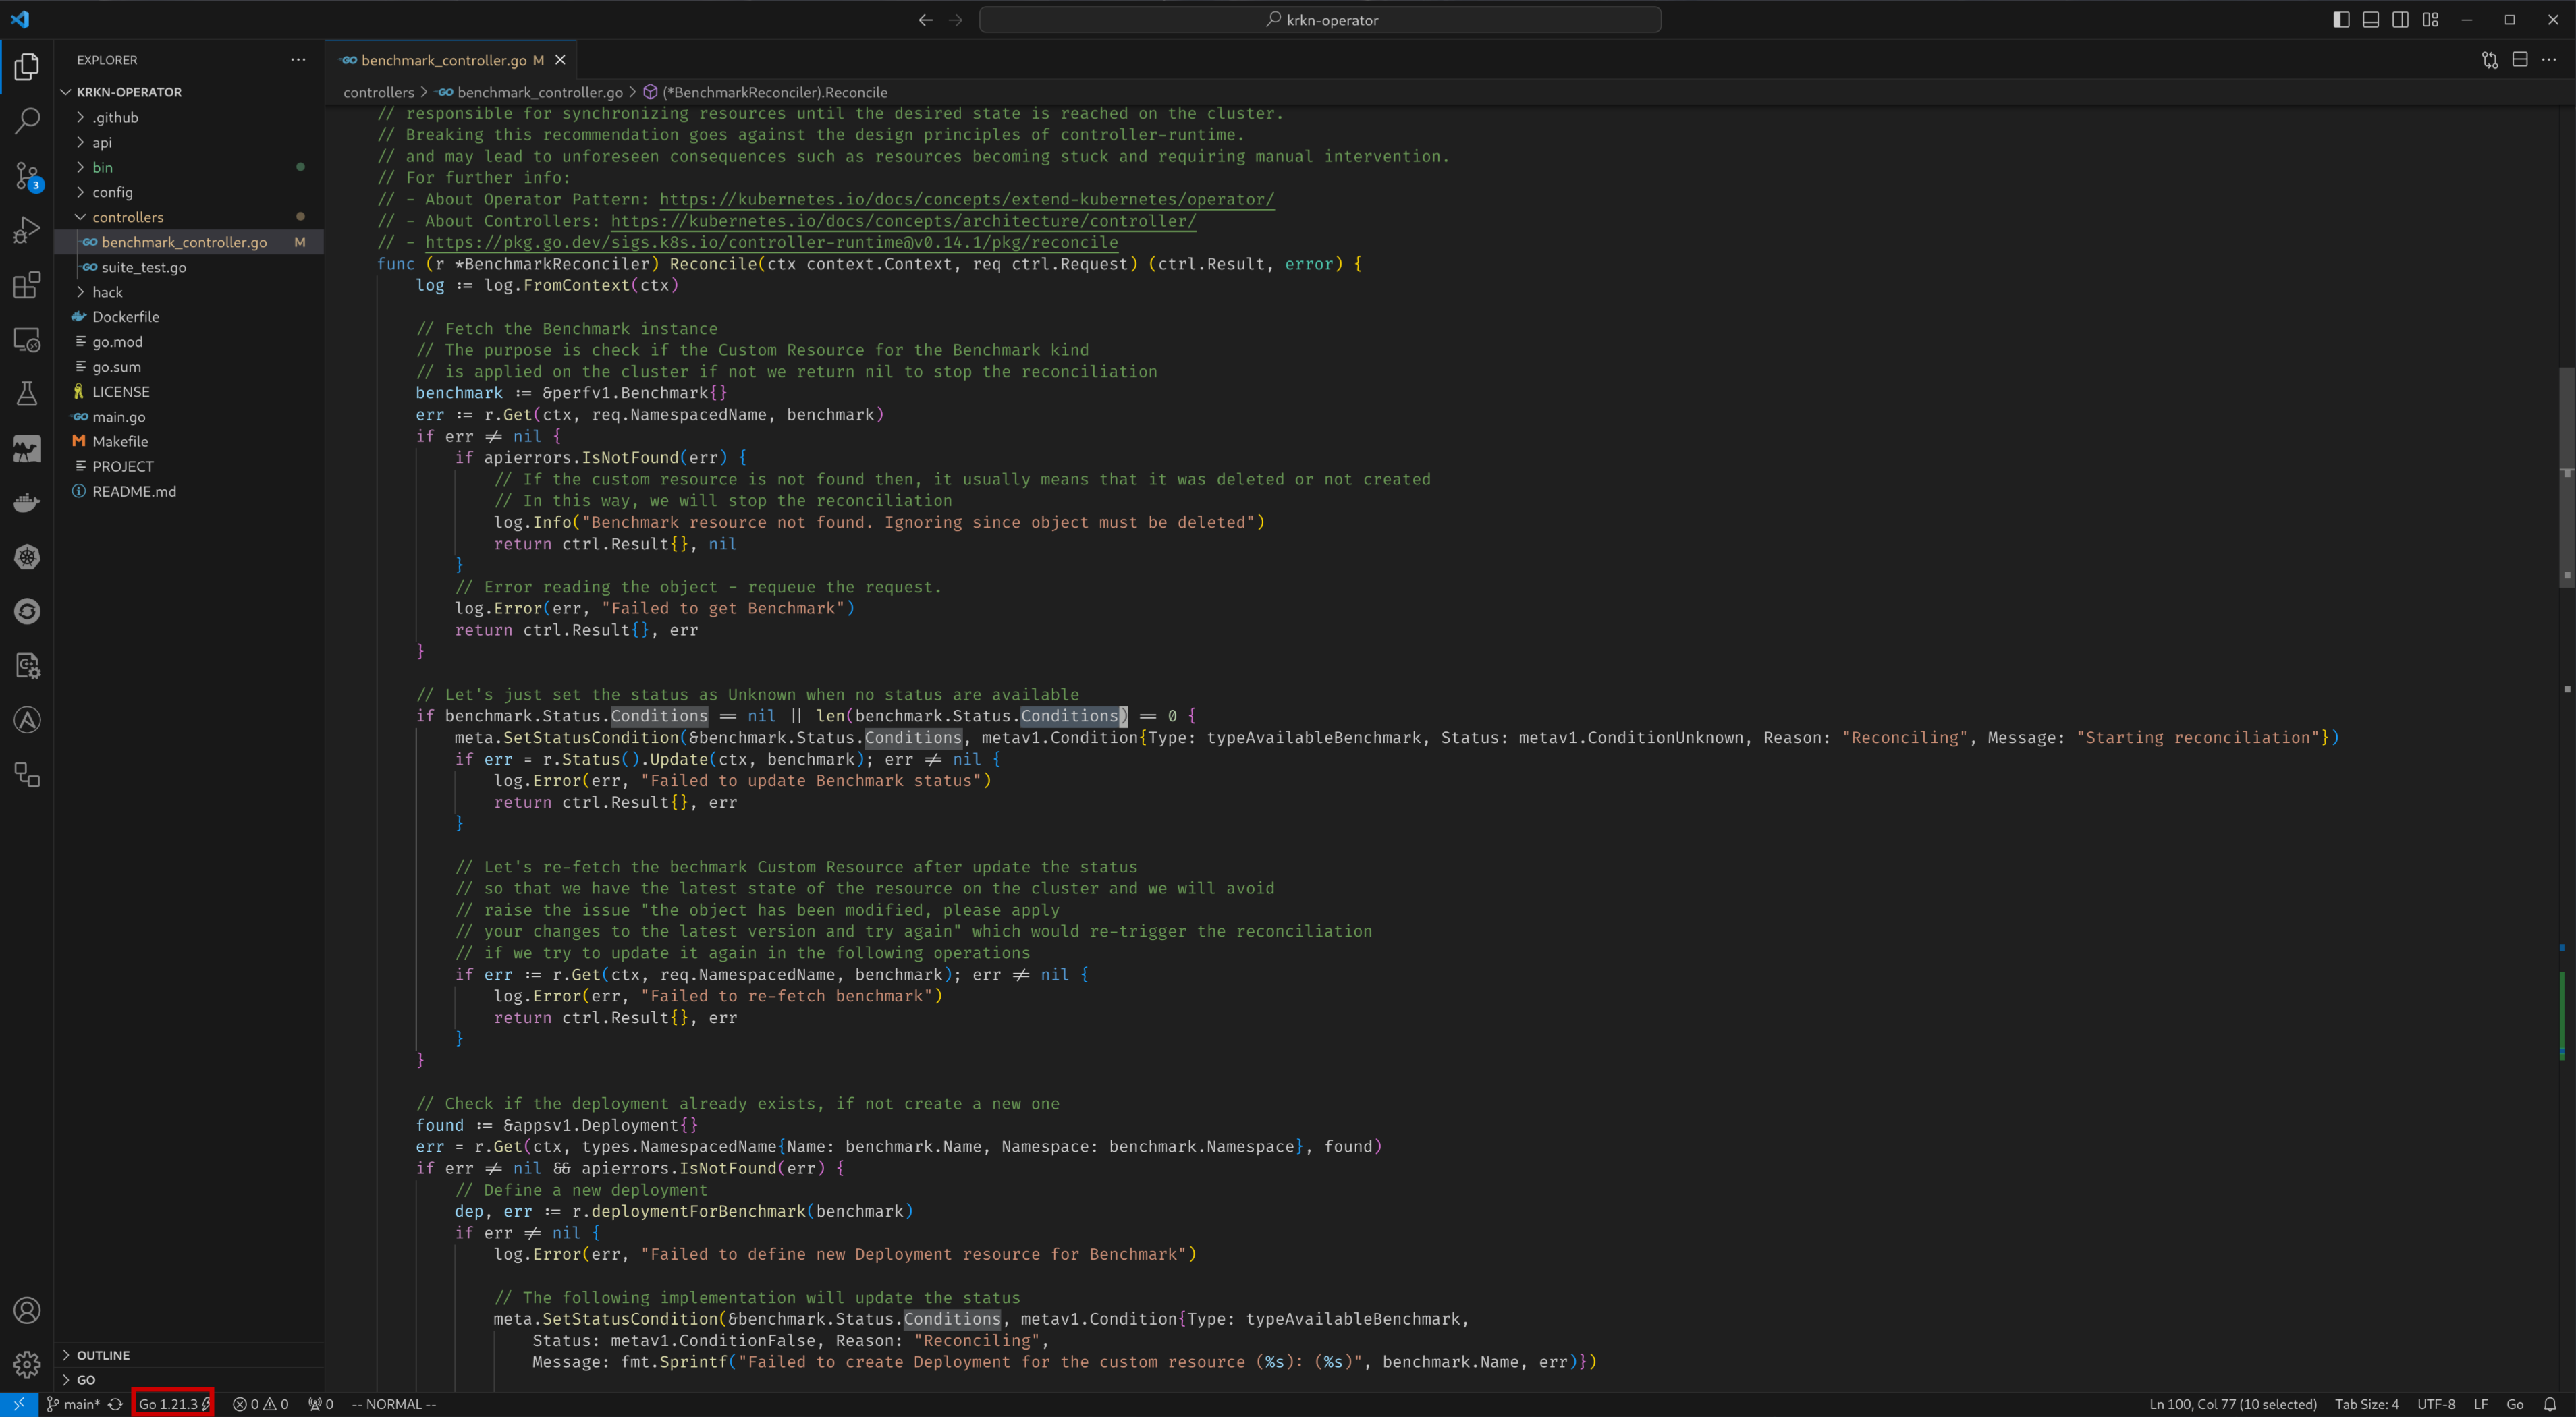
Golang
Download latest version:
$ mkdr ~/go
$ curl https://go.dev/dl/go1.21.3.linux-amd64.tar.gz -Lo ~/go.tar.gz
$ tar xf ~/go/go.tar.gz
$ mv ~/go/go ~/go/go-1.21.3
Add the following environment variables to your environment:
export GOROOT=$HOME/go/go-1.21.3
export GOPATH=$HOME/go
export PATH=$PATH:$GOROOT/bin:$GOPATH/bin
Check installation:
$ go version
go version go1.21.3 linux/amd64
Finally, open VSCode (it should automatically detect the local Golang installation), install the Go VSCode extension and click on ⚠ Analysis Tools Missing to install those.
Python
Local install - custom version
Install both python and pip in the local user environment, compiling an specific version.
From a toolbx container with proper development tools (and readline, sqlite and libffi dev dependencies), i.e.: this one download and compile Python:
⬢ $ wget https://www.python.org/ftp/python/3.12.0/Python-3.12.0.tgz
⬢ $ tar -xf Python-3.?.?.tar.xz
⬢ $ cd Python-3.?.?.tar.xz
⬢ $ ./configure --prefix=$HOME --enable-optimizations --enable-loadable-sqlite-extensions --with-ensurepip=install
⬢ $ make install
⬢ $ ln -s ~/bin/python3 ~/bin/python
And then install pip:
$ curl -O https://bootstrap.pypa.io/get-pip.py
$ chmod +x get-pip.py
$ ./get-pip.py
$ pip install ipython jinjanator
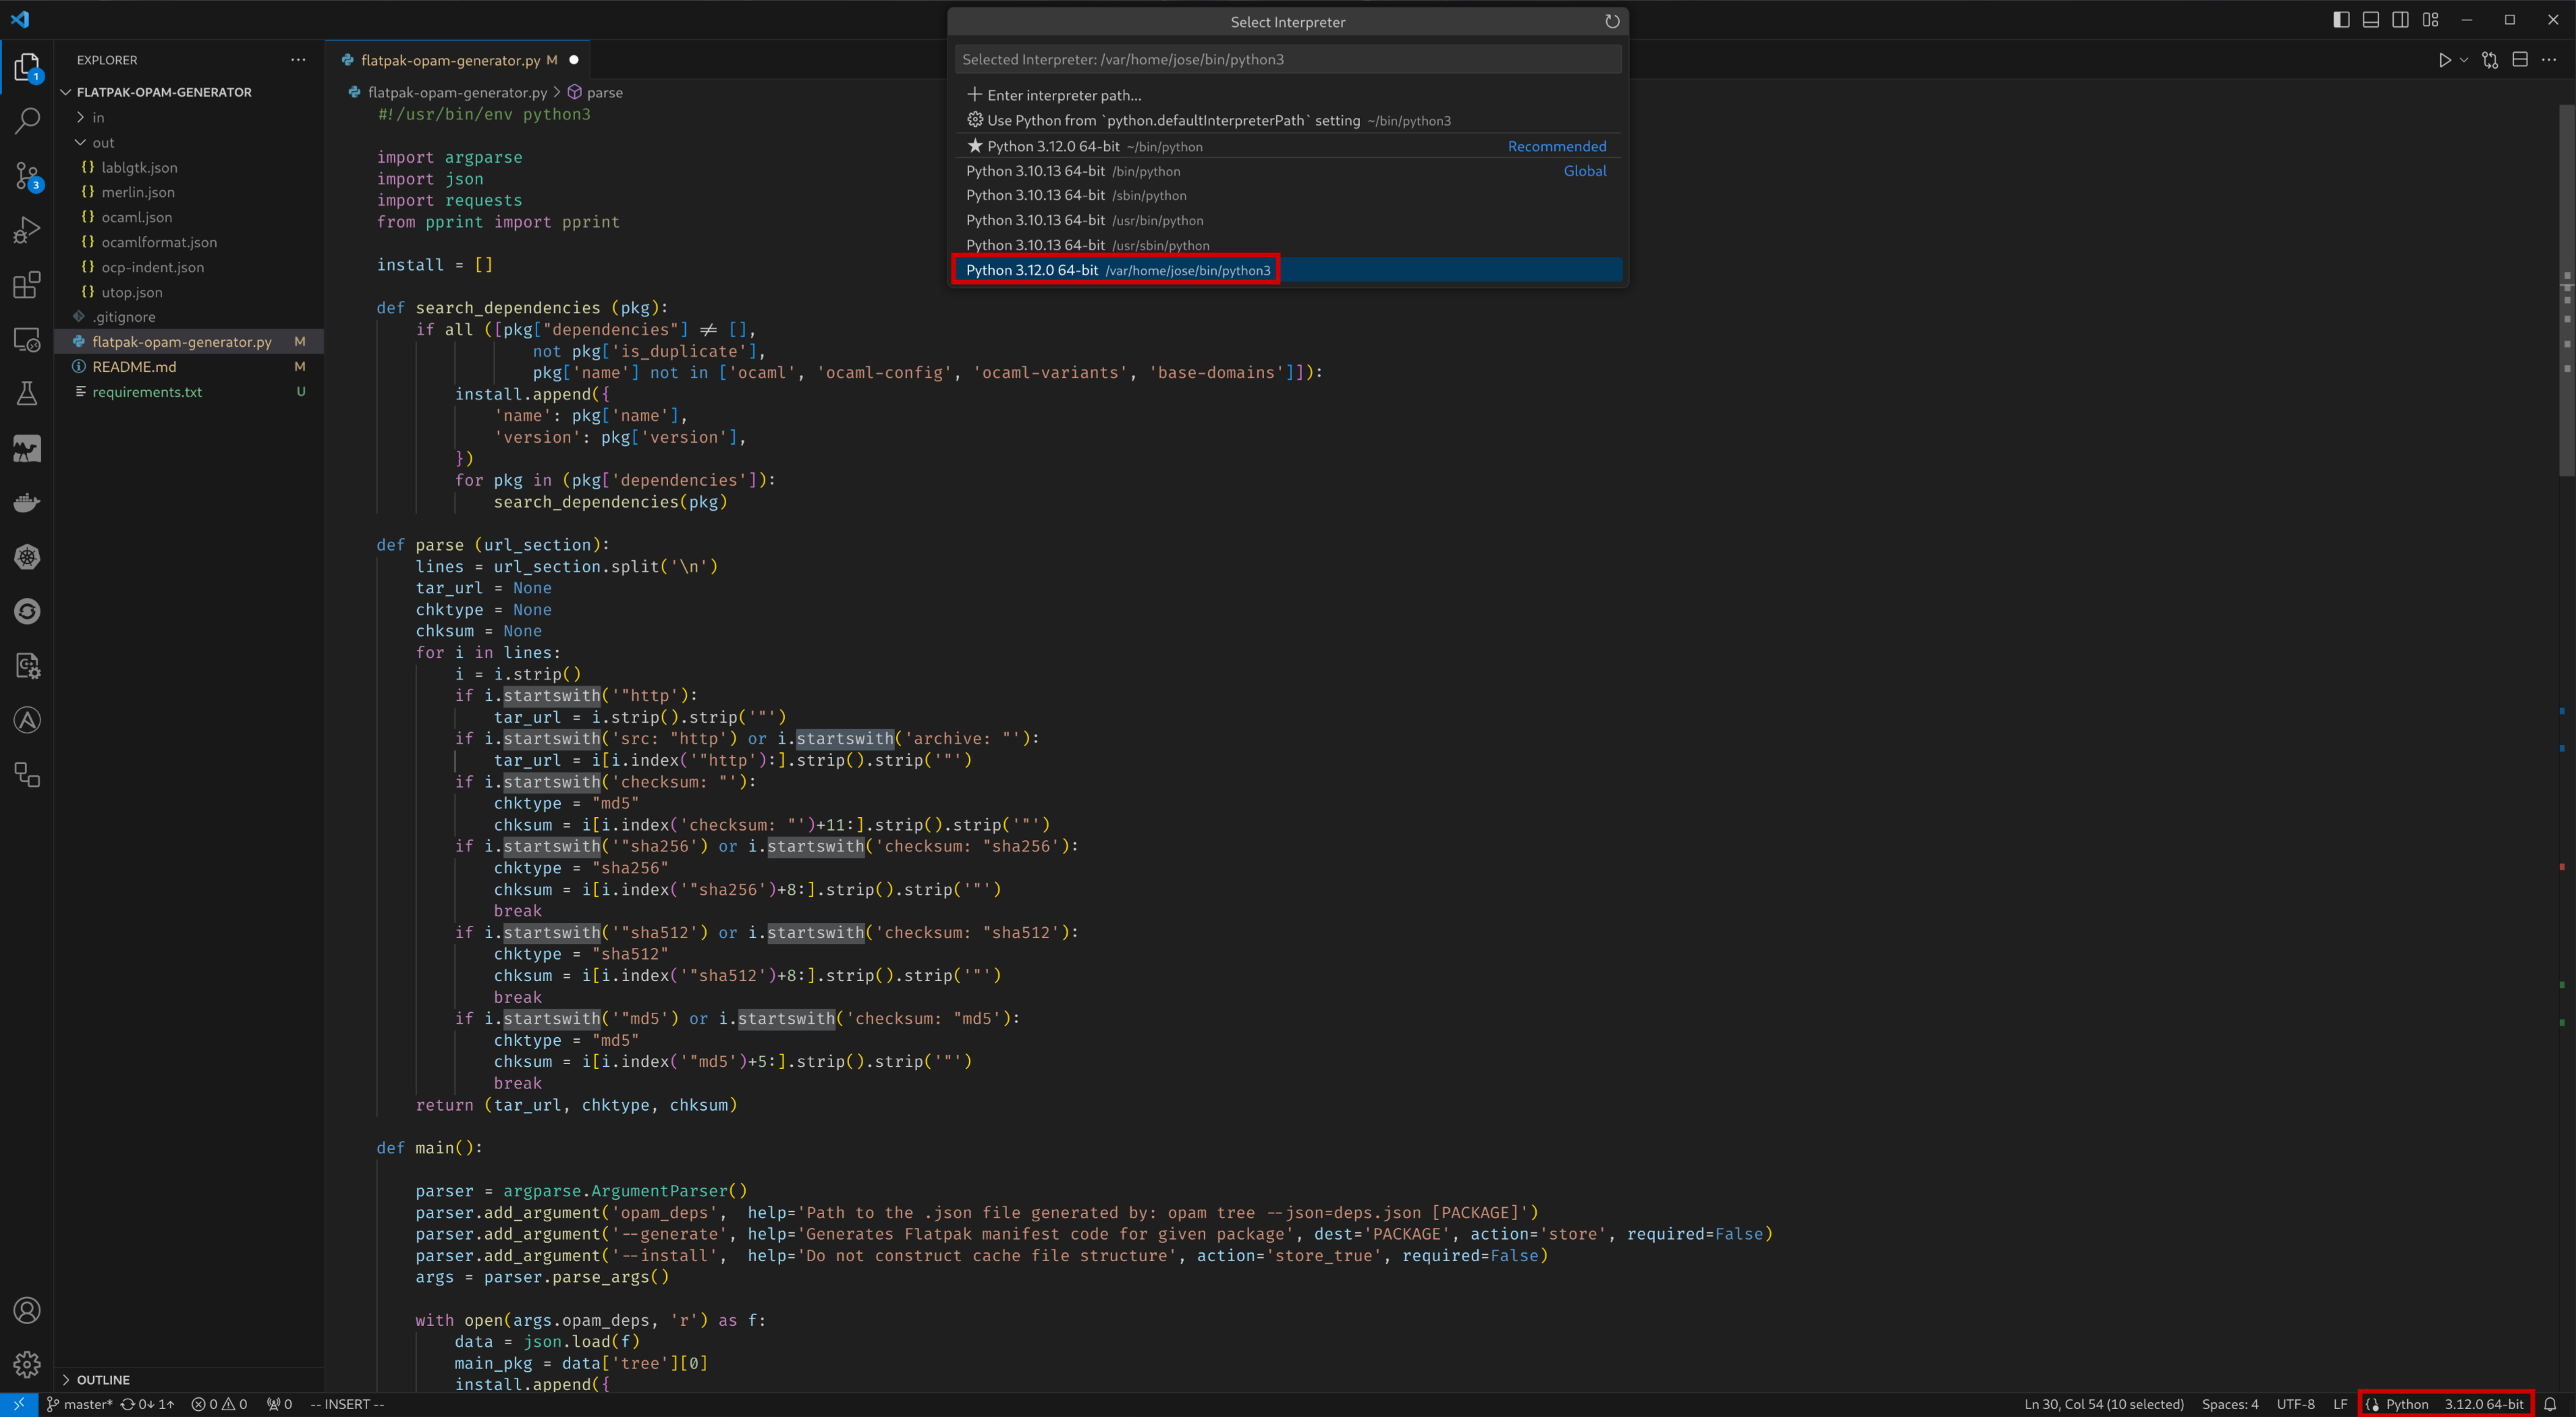
Then you can just pip install any dependencies, open the project in VSCode and choose the corresponding Python environment ~/bin/python. I do not tend to pip install the requirements of the projects thought (only the indispensable ones, like i.e.: ansible), instead prefer the virtual environments approach that will be described next.
Using python virtual environments
Before opening the project in VSCode:
$ flatpak run --command=sh com.visualstudio.code
[📦] python -m venv .
[📦] source bin/activate
()[📦] pip install -r requirements.txt
Then open the project in VSCode and choose the local virtual environment.
Rust
To download Rustup and install Rust, run the following in your terminal, then follow the on-screen instructions.
$ curl --proto '=https' --tlsv1.2 -sSf https://sh.rustup.rs | sh
Ansible
Python is a pre-requisite.
Local ansible installation:
$ pip install ansible ansible-lint
Ansible will be installed on ~/.local/bin, so we need to add this path to our editor of choice (i.e.: VSCode):
$ which ansible
~/.local/bin/ansible
$ sudo flatpak override --env=PATH='/app/bin:/usr/bin:/home/$USER/.local/bin' com.visualstudio.code
Installed the Ansible extension by Red Hat in VSCode and enabled Lightspeed.
When opening VSCode it should automatically detect the local Ansible installation.

Comments